Multiple options of storing SSH keys in hardware
I recently rented a physical server from Hetzner and didn’t want to get logged out of the server in case my laptop fails or if I get robbed and explored a different options as backups.
My main attack vector to consider is my own incompetence. I don’t want to store my ssh key anywhere so I don’t accidentally upload it to public. This way also evil npm packages won’t be able to read and copy it either.
Using Secretive.app for to generate keys in the MacOS hardware
My main way to generate and store ssh keys has been Secretive.app. It’s a neat piece of software which uses the separate secure enclave coprocessor to store the ecdsa-sha2-nistp256 keys in a way that nobody can read private keys. This is secure but even I myself can’t read the private key so if I loose my MacBook I can’t ever access this key again.
Secretive integrates very nicely into the touch-id in Mac and it will require me to give my fingerprint everytime I want to use my ssh key to either login to remote servers or to sign git commits.
You can install secretive easily with homebrew:
$ brew install --cask secretiveRemember to set this in your shell configs too so git and ssh will automatically use keys through Secretive:
SSH_AUTH_SOCK=/Users/$USER/Library/Containers/com.maxgoedjen.Secretive.SecretAgent/Data/socket.sshBackup key #2: My old Yubikey
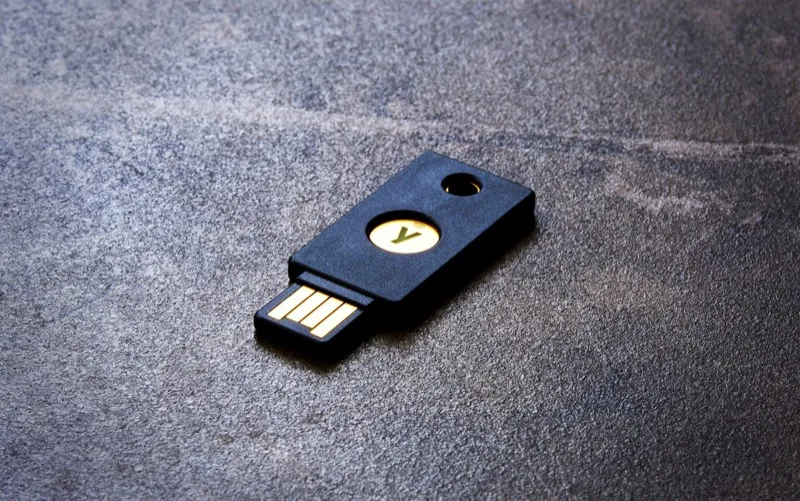
I purchased my legacy version of Yubikey NEO already in 2016 and it’s still working fine even though I have been carrying it in my keys for almost a decade. Nowadays I just need to use it with USB-A → USB-C adapter because my current laptop doesn’t have USB-A ports anymore.
I had mainly been using my key as 2FA because it supported the touch to U2F protocol. I wanted to create a new fresh key to add as backup. Because the key was so old many of the tutorials didn’t work and I needed a bit of guess work. Here were my steps:
$ brew install ykman
$ ykman list
YubiKey NEO (3.4.9) [CCID] Serial: XXXXXXXX
$ ykman config mode FIDO+CCID
# I needed to remove the yubikey here and put it back in to continue...
# Reset all PIV related settings
$ ykman piv reset
# Allow 5 tries for the pin/puk
$ ykman piv access set-retries 5 5
# Generate new management key and copy it into clipboard
# It's a good idea to store this into icloud passwords/keychain too
$ openssl rand -hex 24 | pbcopy
# Change the management key (use the one generated in clipboard)
$ ykman piv access change-management-key
# Change the 6 digits pin code
$ ykman piv access change-pin
# Change the 8 digits puk code
$ ykman piv access change-puk
# Generate new ECCP256 based key into key
# My old yubikey only supports ECCP256 or RSA2048
# If you have newer yubikey v5+ use ED25519
# If you have yubikey 4 use ECCP384
$ ykman piv keys generate -a ECCP256 9a ./yubikey-public.pem
# Generate new self-signed certificate which acts as your ssh key
# I selected 1825 for the key to be valid for 5 years
# '9a' is just the slot name which for piv needs to be this. It worked for me
$ ykman piv certificates generate \
--subject '[email protected]' \
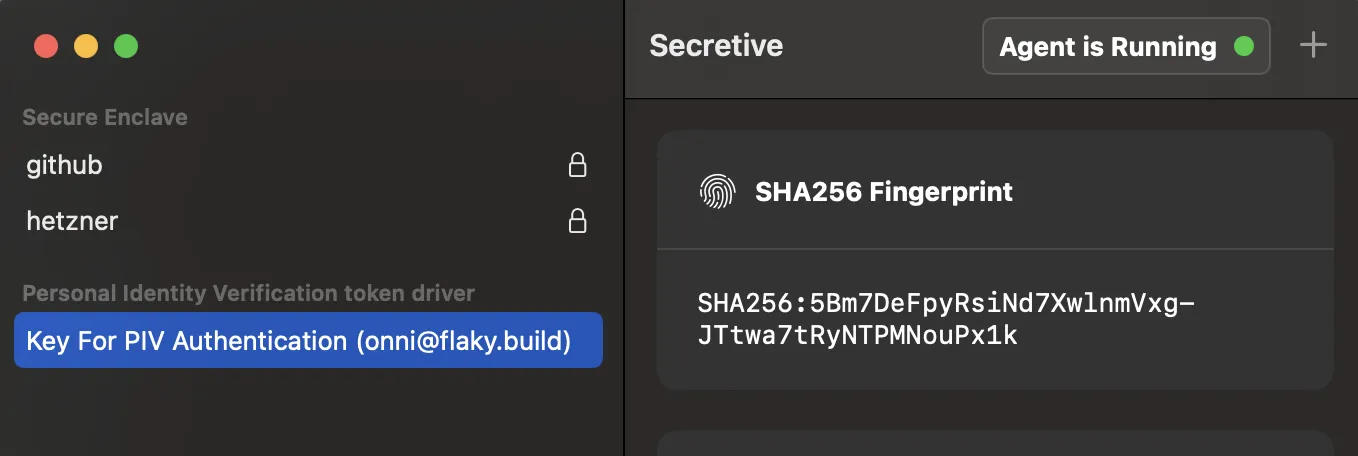
-d 1825 9a ./yubikey-public.pemAfter running these commands and replugging the yubikey I was able to see it listed in the Secretive as separate hardware key:
Backup key #2: Using my Estonian ID-card as backup
I have been living in Estonia since 2020. Everyone who is resident or e-resident in Estonia gets an ID-card which is capable of signing, encrypting and decrypting. It can be used with a cheap USB smart card reader which they gave freely in Settle in Estonia courses in 2021. Krzysztof Radecki had written nice tutorial to use Estonian ID-cards as SSH keys in 2020. I tried it and it worked well but one of my friends in Estonian hackerspace k-space.ee mentioned that I can use Secretive also with the Estonian ID-card by installing their drivers and software.
I packaged them into a custom homebrew tap so it’s easier to install and automate:
$ brew install --cask onnimonni/tap/open-eidI also opened a Pull-Request into homebrew-cask but I doubt they will merge it.
After installing the drivers the Estonian ID-card appeared in the secretive too.
Summary: Having 3 different options for hardware backed keys
After all of these steps using newish MacBook, Secretive, Yubikey and my Estonian ID-card I now have multiple different hardware backed secure keys to login to my server.
Finally I needed to just to list all keys from the ssh agent and install them into my server
$ ssh-add -LTo make this setup even more robust I think next thing is to find a friend who I trust enough and give them an access too in case all 3 keys would be lost simultaneously.